Tag: telescope

The sky at night!

And so after 10 days, I finally had a chance to play with my new telescope on Friday night! Optical astronomy requires at least a few gaps in the clouds but last night at 8pm it was completely clear – I was hopping up and down like an overactive child waiting for the sun to go down (scheduled for about 8:40pm) and simultaneously cursing the slightest wisp of cloud. It should be clear that I’m a bit new to this, so what I write shouldn’t be seen as in the slightest bit authorative.

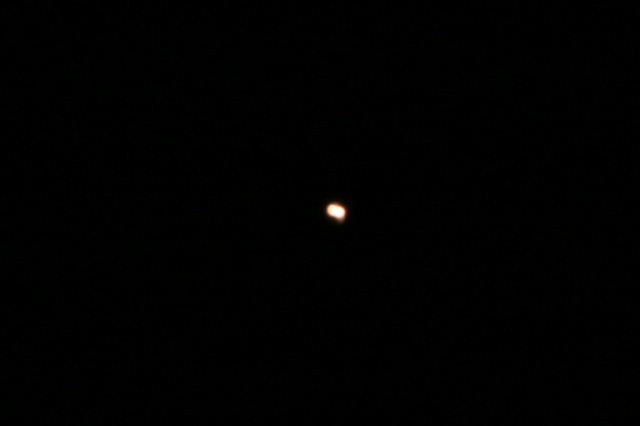
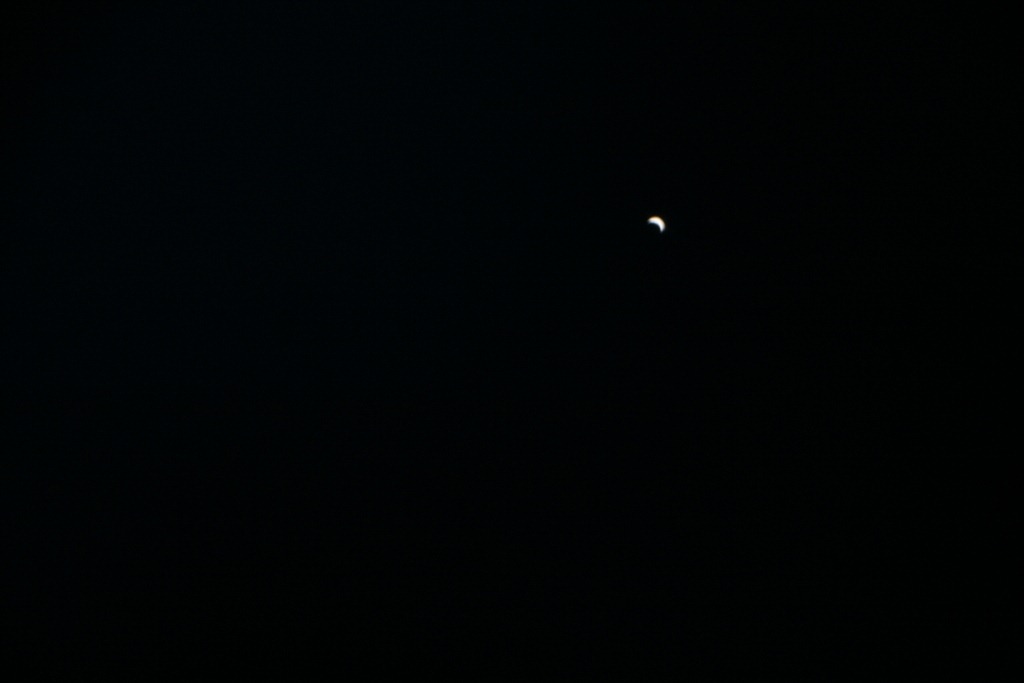
Kindly folk at @newburyastro had suggested Venus and Saturn as targets for my first adventure into the night. Useful advice because, as a relative beginner I had little idea what I was going to see, or in fact when I was going to see it. Venus become visible at about 9:20pm towards the now-set sun, it turns out that pointing the ‘scope with the finderscope is much easier than the rather more hazardous enterprise of finding the sun without (something I describe here). In the eyepiece Venus appears as a small, bright crescent.

It was a breezy evening which meant that my view jiggled about a bit, it also jiggled about a bit whenever I touched the telescope. However I did manage a picture of Venus taken on my Canon 400D at prime focus. This is an uncropped view, and it’s upside down.

IMG_1887-001

Venus (1/50 second, ISO200)


Mars made an appearance a little later at about 9:35pm along with a bright star which I believe is Regulus. This enabled me to get my telescope to work out how it was orientated meaning it could track to objects on demand and also tell me what I was looking at (very handy for a novice). My picture of Mars is a little uninspiring, I’ve zoomed in here as far as possible, in Mars’ favour it does look red and it isn’t a simple point.

IMG_1893-001

Mars (cropped, 1/3 second, ISO200)


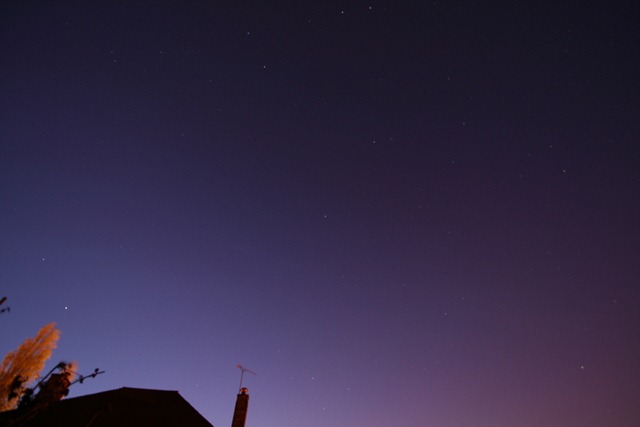
By now more and more stars were coming out, so I thought I’d try out my piggyback mount. This image is taken with a 10mm lens (i.e. really wide angle) with the telescope simply used as a camera mount pointed at Polaris, it’s a 30s exposure.

IMG_1896

The Northern circumpolar region (Canon 400D, 10mm, 30s ISO200, f/4)


It took a while to get this because I had auto-focus on and the camera couldn’t find anything to focus on so wouldn’t fire – switching off auto-focus and focusing to infinity manually resolved this. It was at this point I wished I could remember how to switch the display on the back of my camera off because it was really bright, and remember which button was which without being able to see it. The thing that surprised me about this is that there are rather more stars than I could see with my naked eye and some of them are quite strongly coloured. I feel I should go about identifying the stars in my picture.

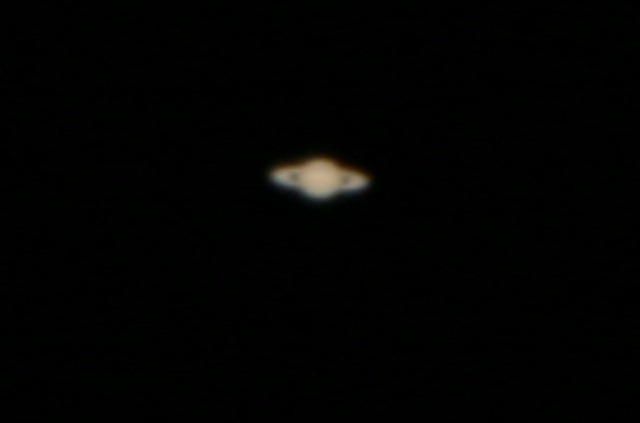
At this point I thought I’d give Saturn a go, I must admit I thought it was hidden behind buildings and trees from my position in the back garden but I punched it into the telescope handset and it pointed me into the side of the conservatory, so I picked up the telescope and moved it one metre to the right, peered through the finderscope and tweaked my direction a bit and… the planet with ears popped into view!! This was really exciting! I only have one eyepiece for my telescope and it’s quite low magnification but through the eyepiece I could see my target was not a point, and it was not round – it was shaped like a flying saucer and there were slight gaps either side of the central body. Having marvelled at this for a bit I thought I’d try for another photograph:

IMG_1910

Saturn (cropped, 1/4s, ISO200)


It’s not the best picture of Saturn taken last night but it is my picture!

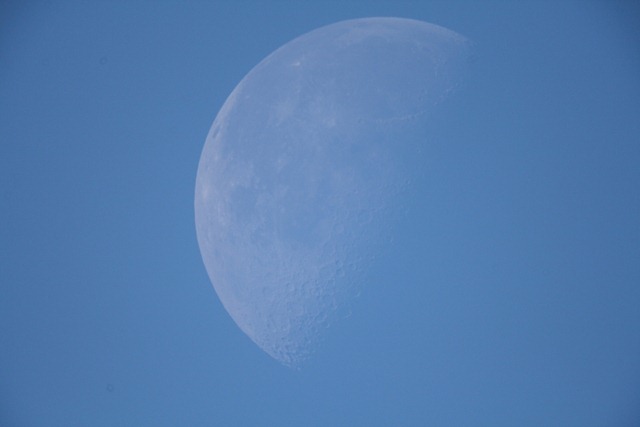
The moon hadn’t risen before I went to bed, so when I spotted this morning I rushed out for a photo.

IMG_1918

The Moon 9(1/500s, ISO400)


I’ve not done any astrophotography before these (apart from my shots of the sun, and a couple of shots at the moon through a conventional lens). I guess the thing I carried over from that was that the moon is a rock in full sun, so you need to set your exposure times accordingly, the same is true for Mars and Venus so I suspect I should be using shorter exposure times for them to which will also reduce any motion blur.

My first night of viewing has highlighted a need to have a better grip of how to work your camera, plan what you want to look at in advance and, as with an SLR camera, a telescope is simply a gateway drug for further accessory purchase.

First light–images of the sun

I’ve had my new telescope (a Celestron NexStar 5SE) nearly a week now and so far I have images of miscellaneous chimney pots, arials, pigeons, and… the sun. Only the last of these can be considered fair astronomical game, I’ve had two goes at it so far. I tending to the view that my telescope blog posts shall be like a lab book of what I have done rather than a guide to others, except to perhaps highlight those things that are obvious to experienced astronomers but not to the novice.

The first rule about looking at the sun through a telescope is:

Do it carefully with the appropriate solar filter in place

Seriously, be really careful pointing telescopes at the sun – mine is a small one and it concentrates light by a factor of 300, looking near the sun with the naked eye is bad – imagine x300 more light!

I bought a sheet of Baader AstroSolar solar filter film at the same time as I got my telescope, this comes in the form of a thin A4 sheet of material that looks like foil. It has an optical density of 5, meaning it lets 0.001% of the incident light through. There are detailed instructions supplied with the AstroSolar film for constructing your own mount for the material, or you could go and buy a proper mounted filter (here).

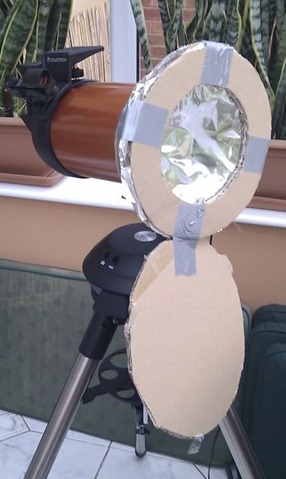
The aim of the filter mount is to hold the filter film without stressing it and in a manner convenient to attach it to the front of your telescope. I should, perhaps, have used the “thick card” that the instructions recommended rather than the corrugated cardboard from the box the telescope came in, and it turns out double-sided carpet tape is really exceedingly sticky. However, the result shown in the image below is functional and I have included a built-in “filter shield” of my own invention for storage. Behind the two cardboard rings sandwiching the filter is a cardboard tube which fits neatly over the optical tube.

SolarFilter

Celestron NexStar 5SE with homemade solar filter from Baader AstroSolar

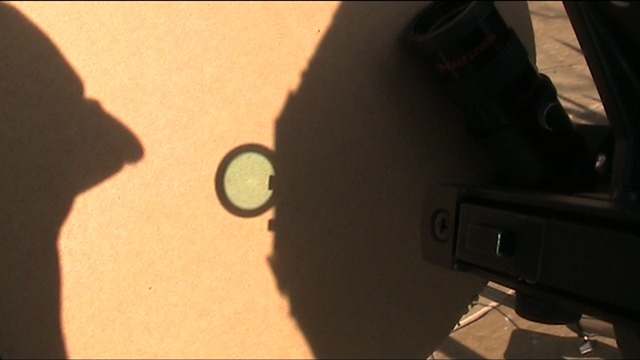
The next challenge is pointing the telescope at the sun, this turns out to be pretty tricky because with a solar filter in place the only thing in the sky that you can see is the sun, the field of view on my telescope is approximately the size of the moon, you can’t navigate by distinctive clouds and you can’t look through your finderscope unless it is also solar filtered. I’d read that you should move the telescope until the shadow of its tube is a circle – I tried doing this on the ground (minimising the area rather than trying to get a circle). At one point I thought I’d found the sun but from later observations I suspect I was staring at an internal reflection. But easier, since my telescope has a non-magnifying StarPointer finderscope I cast the shadow of that onto a piece of card until it looked round (see image below). The second time I tried this, I got a “hole-in-one” – the sun in my field of view at the first attempt! I could improve this by slotting a disk with a small hole in the middle into the finderscope and aligning until a bright spot appeared in the middle.

StarPointer_solarfinding

Shadow of the Celestron Star Pointer, used to align the telescope to the sun

 I have to say that seeing the sun through my telescope for the first time was as exciting as digging up potatoes, that’s to say really exciting!

I then moved to trying to photograph my target, I did this using a Canon 400D SLR. The camera is attached by a T-mount to the back of the telescope, in place of the eyepiece. This means that the telescope is replacing the camera lens,s known as “prime focus photography”. Two configurations are possible: with and without the “Star Diagonal” in place. The field of view through the Star Diagonal is smaller, and dimmer than the direct connection however the viewing position is more comfortable and there is less risk of the camera falling off! The direct connection gives a correctly oriented view through the camera, whilst the Star Diagonal gives an upside-down view. The focus position for the eyepiece and the two different camera configurations are all different. The camera is triggered using a remote release cable.

My first attempt is shown below, this is a 1/640s at ISO200 taken without the StarDiagonal:

IMG_1790

Image of the sun, Canon 400D ISO200, 1/640s exposure

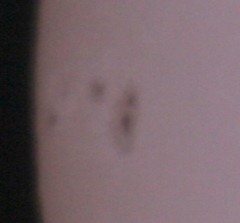
Below are crops to the two visible clusters of sunspots:

IMG_1790-002

Sunspot detail

IMG_1790-001

Sunspot detail

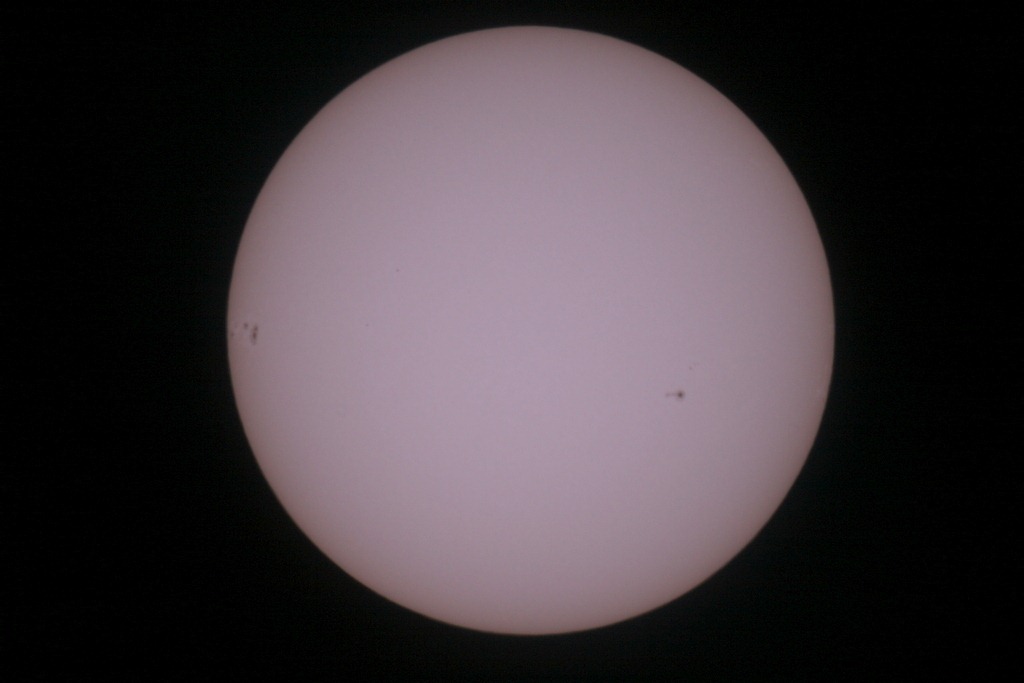
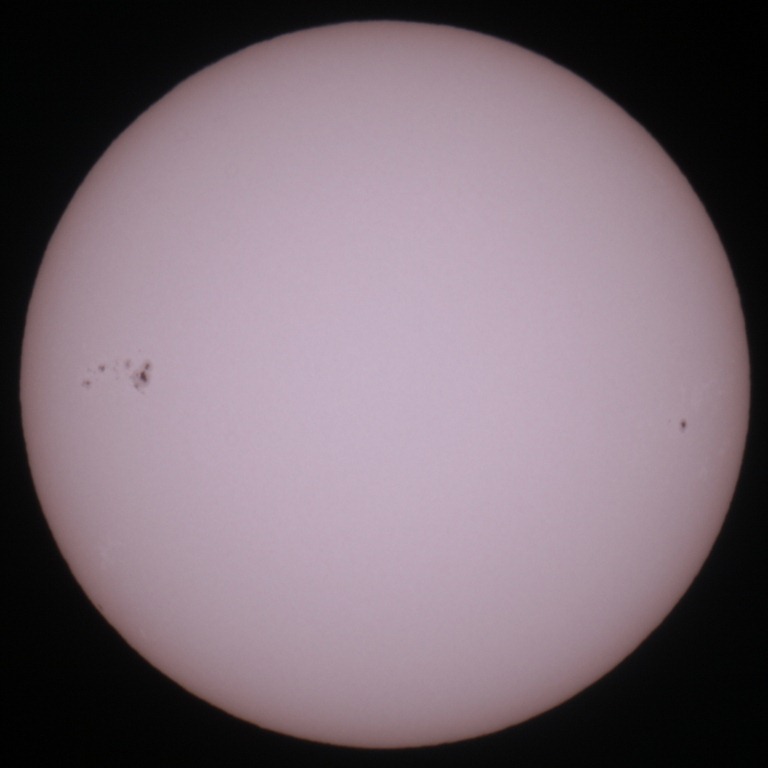
These look a little less distinct than they did through the eyepiece which may have been because I forgot to enable “mirror lockup”. The second time around I did a bit better, this is taken at ISO100 with a 1/125s exposure again without the StarDiagonal:

IMG_1837-002

Image of the sun, Canon 400D ISO100, 1/125s exposure

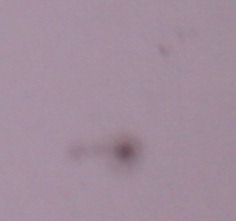
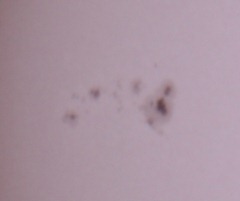
With a detail of the sunspots:

IMG_1837-001

Sunspot detail

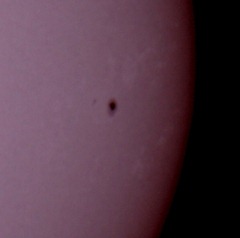
I have a nice set of solar features, sunspots with dark umbra and a paler penumbra, limb darkening (the sun appears less bright towards its edges) and plages (related to faculae) which are bright spots, these are pretty difficult to see. The image below is a crop of the sunspot area to the right hand side of the image above with some contrast enhancement (I boosted the shadows using Picasa) which just about shows the plages:

IMG_1837-003

Solar photo showing plages

Next time I should probably set the white balance to something other than “auto”, and experiment a bit with exposure times to see if I can get the plages showing up a little better. A Barlow lens would give me some magnification of the sunspots… and so the spending on accessories begins!