I’ve had my new telescope (a Celestron NexStar 5SE) nearly a week now and so far I have images of miscellaneous chimney pots, arials, pigeons, and… the sun. Only the last of these can be considered fair astronomical game, I’ve had two goes at it so far. I tending to the view that my telescope blog posts shall be like a lab book of what I have done rather than a guide to others, except to perhaps highlight those things that are obvious to experienced astronomers but not to the novice.
The first rule about looking at the sun through a telescope is:
Do it carefully with the appropriate solar filter in place
Seriously, be really careful pointing telescopes at the sun – mine is a small one and it concentrates light by a factor of 300, looking near the sun with the naked eye is bad – imagine x300 more light!
I bought a sheet of Baader AstroSolar solar filter film at the same time as I got my telescope, this comes in the form of a thin A4 sheet of material that looks like foil. It has an optical density of 5, meaning it lets 0.001% of the incident light through. There are detailed instructions supplied with the AstroSolar film for constructing your own mount for the material, or you could go and buy a proper mounted filter (here).
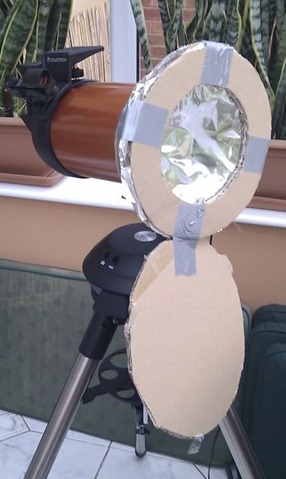
The aim of the filter mount is to hold the filter film without stressing it and in a manner convenient to attach it to the front of your telescope. I should, perhaps, have used the “thick card” that the instructions recommended rather than the corrugated cardboard from the box the telescope came in, and it turns out double-sided carpet tape is really exceedingly sticky. However, the result shown in the image below is functional and I have included a built-in “filter shield” of my own invention for storage. Behind the two cardboard rings sandwiching the filter is a cardboard tube which fits neatly over the optical tube.
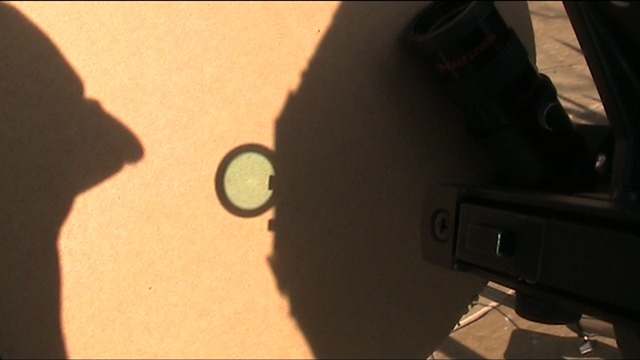
The next challenge is pointing the telescope at the sun, this turns out to be pretty tricky because with a solar filter in place the only thing in the sky that you can see is the sun, the field of view on my telescope is approximately the size of the moon, you can’t navigate by distinctive clouds and you can’t look through your finderscope unless it is also solar filtered. I’d read that you should move the telescope until the shadow of its tube is a circle – I tried doing this on the ground (minimising the area rather than trying to get a circle). At one point I thought I’d found the sun but from later observations I suspect I was staring at an internal reflection. But easier, since my telescope has a non-magnifying StarPointer finderscope I cast the shadow of that onto a piece of card until it looked round (see image below). The second time I tried this, I got a “hole-in-one” – the sun in my field of view at the first attempt! I could improve this by slotting a disk with a small hole in the middle into the finderscope and aligning until a bright spot appeared in the middle.
I have to say that seeing the sun through my telescope for the first time was as exciting as digging up potatoes, that’s to say really exciting!
I then moved to trying to photograph my target, I did this using a Canon 400D SLR. The camera is attached by a T-mount to the back of the telescope, in place of the eyepiece. This means that the telescope is replacing the camera lens,s known as “prime focus photography”. Two configurations are possible: with and without the “Star Diagonal” in place. The field of view through the Star Diagonal is smaller, and dimmer than the direct connection however the viewing position is more comfortable and there is less risk of the camera falling off! The direct connection gives a correctly oriented view through the camera, whilst the Star Diagonal gives an upside-down view. The focus position for the eyepiece and the two different camera configurations are all different. The camera is triggered using a remote release cable.
My first attempt is shown below, this is a 1/640s at ISO200 taken without the StarDiagonal:
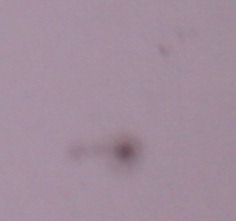
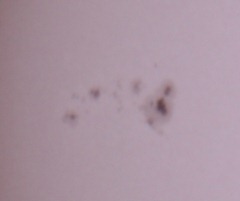
Below are crops to the two visible clusters of sunspots:
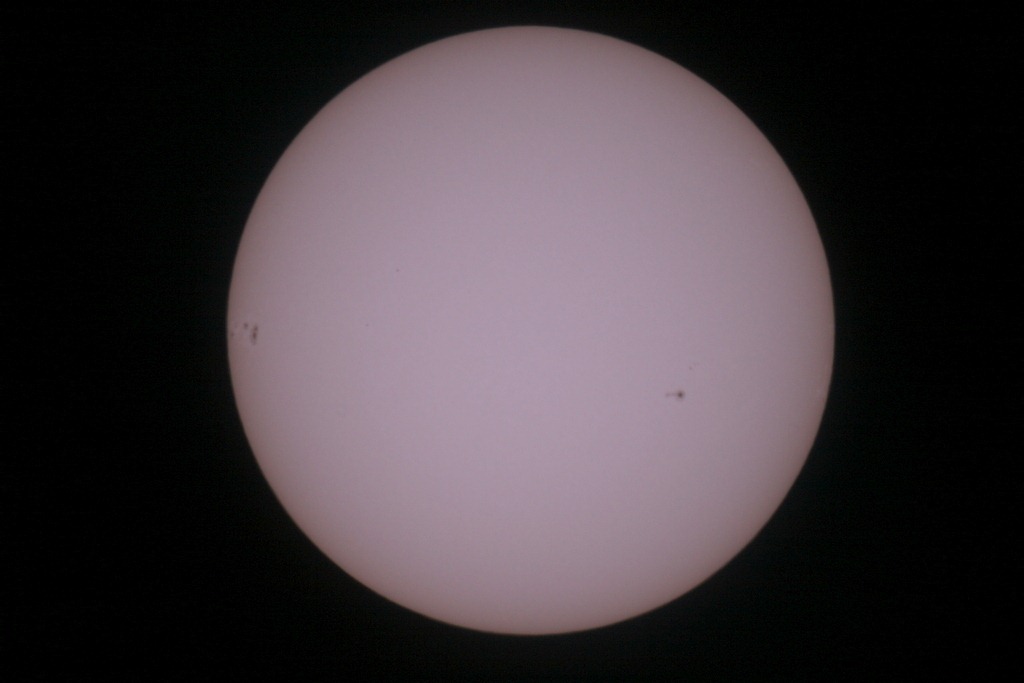
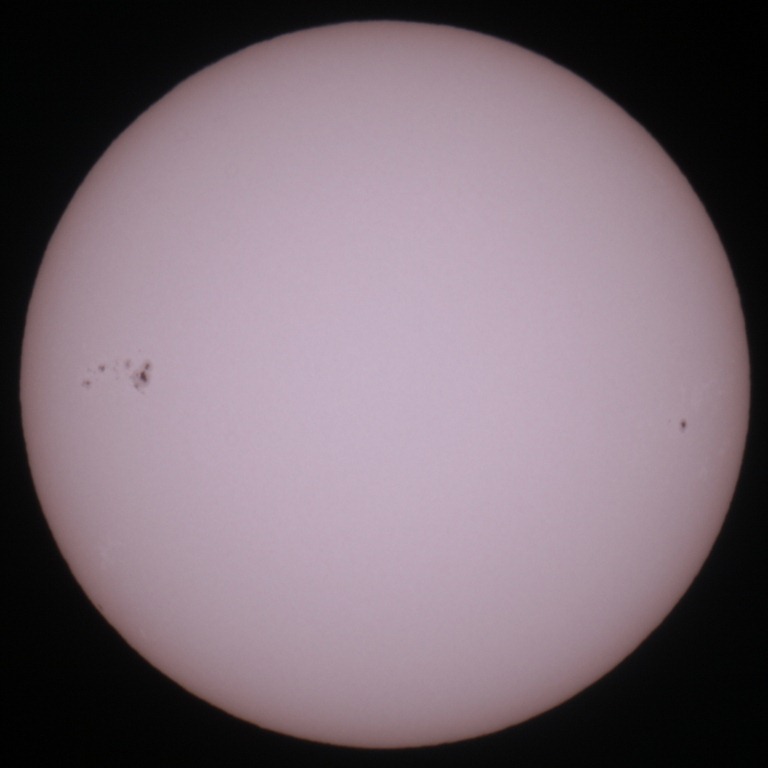
These look a little less distinct than they did through the eyepiece which may have been because I forgot to enable “mirror lockup”. The second time around I did a bit better, this is taken at ISO100 with a 1/125s exposure again without the StarDiagonal:
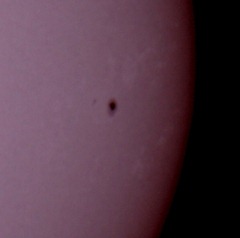
With a detail of the sunspots:
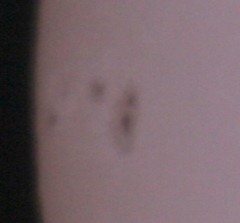
I have a nice set of solar features, sunspots with dark umbra and a paler penumbra, limb darkening (the sun appears less bright towards its edges) and plages (related to faculae) which are bright spots, these are pretty difficult to see. The image below is a crop of the sunspot area to the right hand side of the image above with some contrast enhancement (I boosted the shadows using Picasa) which just about shows the plages:
Next time I should probably set the white balance to something other than “auto”, and experiment a bit with exposure times to see if I can get the plages showing up a little better. A Barlow lens would give me some magnification of the sunspots… and so the spending on accessories begins!


4 comments
Skip to comment form
Interesting to see the enthusiasm of someone ‘discovering’ astronomy, telescopes, and solar photography! :)
Minor correction: I think the Baader ND 5.0 film you described actually reduces light by 100000 times (!). I have some myself (for my 8″ scope), and am planning to get another sheet for my 90mm one as well — hopefully in time for June 5th Venus transit.
Yes, I’ve seen Saturn now – and that’s even better!
One thing that came to light on twitter after I wrote this is the advisability of aperture reduction for solar observing – I think for my 5″ scope it isn’t necessary but maybe necessary on an 8″ reflector?
I think 0.001% works out as 1×10^-5 (i.e. 1/100000) but I always had a small problem with my exponents in calculations.
Yep! With every astronomical object one sees through a scope — especially Saturn — the enthusiasm goes up! Like yourself, I soon determined to ‘capture’ those memories in digital form for future enjoyment :)
Yes, I have been wondering the same thing re: aperture for solar viewing. Whether it was just ‘seeing’ conditions for the days or not, it seemed like my recent 8″ (203mm) views were less clear than my 90mm ones.
BTW, if you haven’t already joined some online astronomy forums, I heartily suggest that you do so. Being able to get assistance — and provide assistance — to others is a great thing. If you want any recommendations, just ask :)
I think the point with aperture reduction is that as the aperture gets bigger the eyepiece stays the same size, so if you had a 1 metre mirror then your Baader solar filter would not be sufficient protection. 1 metre being an example, rather than an actual threshold.
I found discussion forums very useful when I was looking to buy – stargazers lounge in particular.